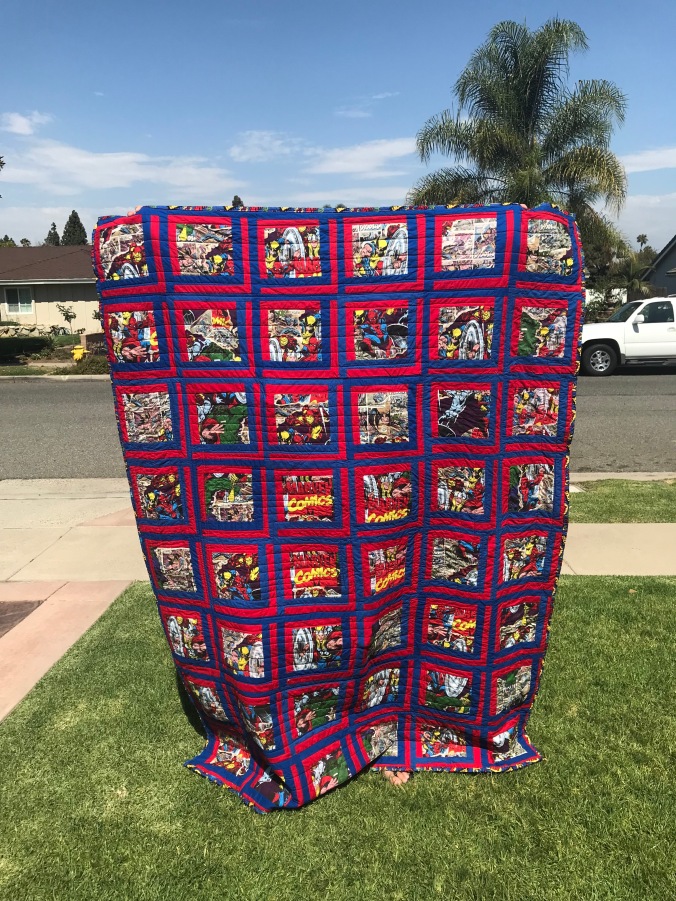
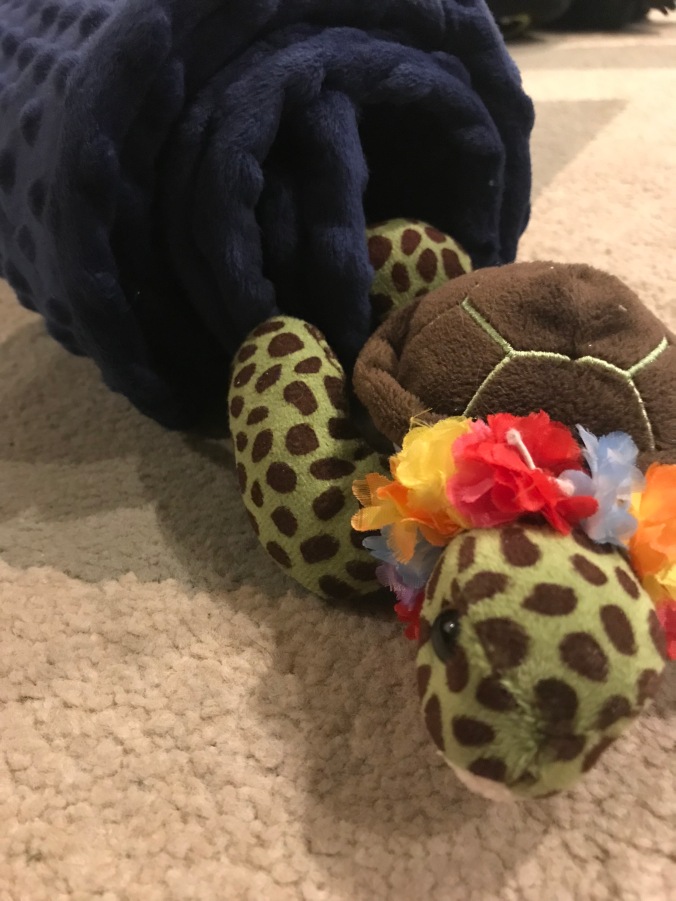
What a joy it is to give the gift of a quilt! Even if it is 6 months late and to a little one who doesn’t quite understand that he’s getting a gift made with love and sweat and tears. Even with all of that, it’s still a wonderful moment to gift to someone a quilt you’ve made with them in mind.
I was blessed with two nephews in one year. They are two months apart and both are the sweetest things. I adore them both and enjoy being their Aunty Keki.
For their first birthdays I decided to make them a minky quilt each. For Logan, I made a grey and neutral colored quilt with zoo animals and it matched his crib and decor perfectly. After working with minky on that quilt, I grew more confident and knew that I could make Watson one, too!
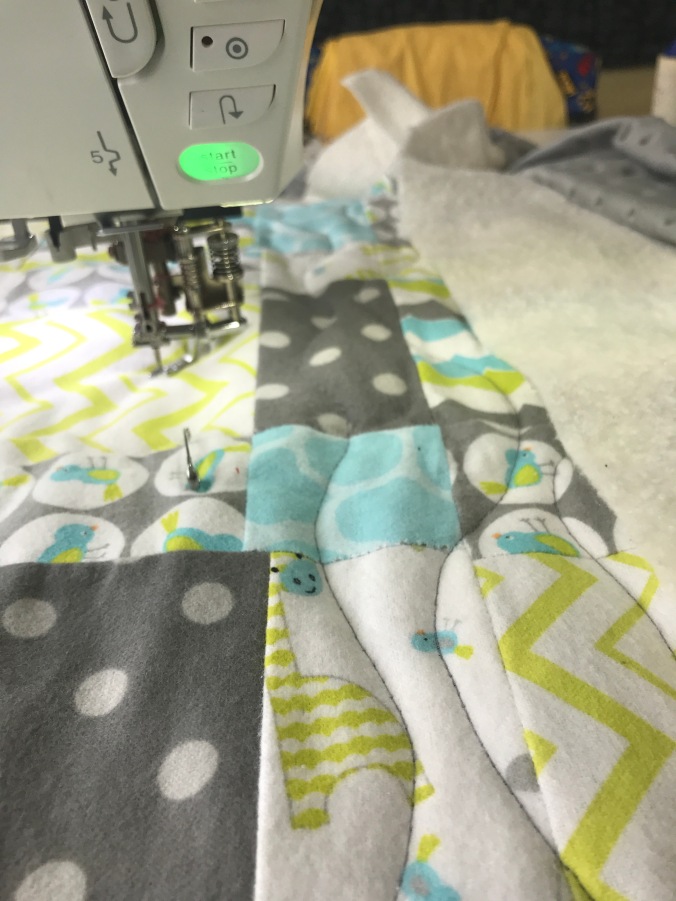
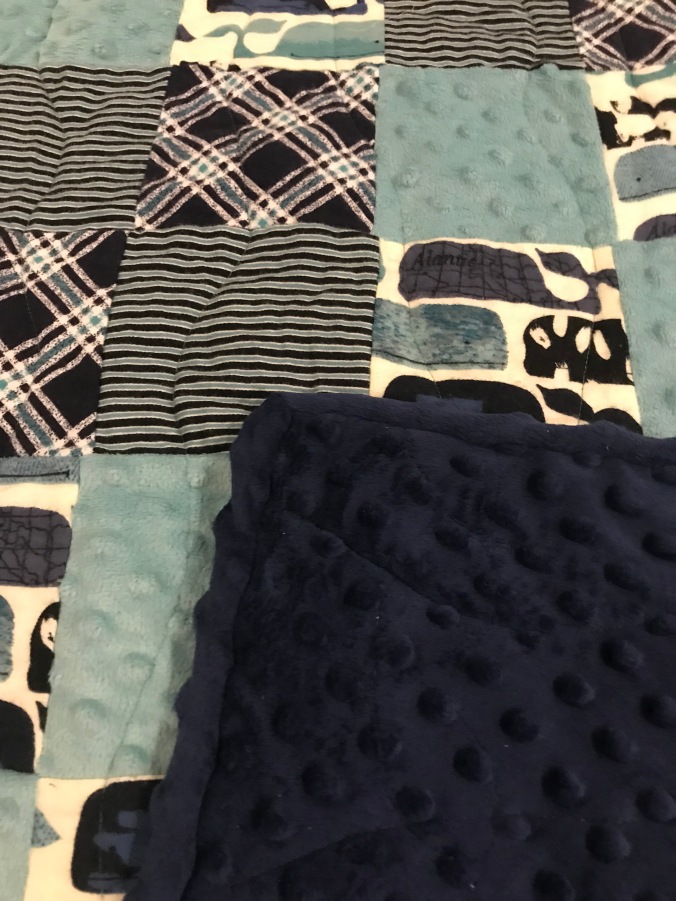
And I got lucky! I found this great off-the-bolt fabric in colors that matches Watson’s nursery with nautical animals. He’s all about that narwhal.

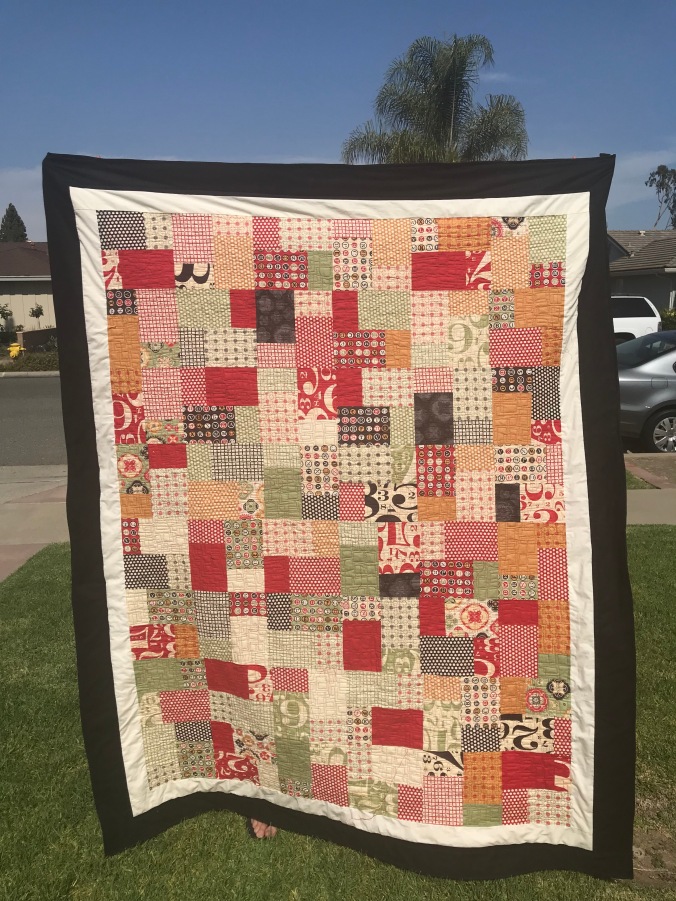
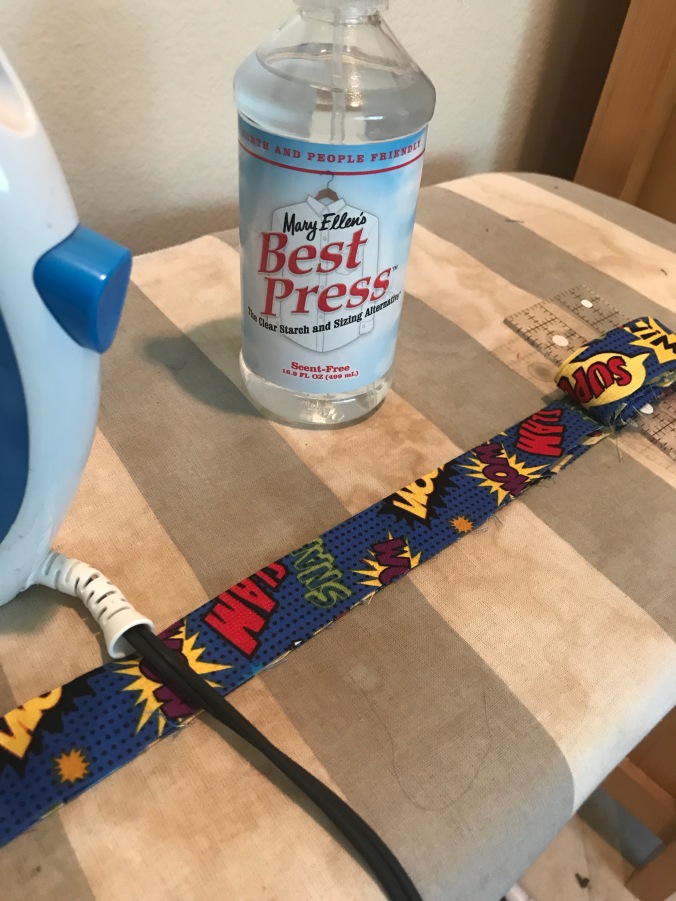
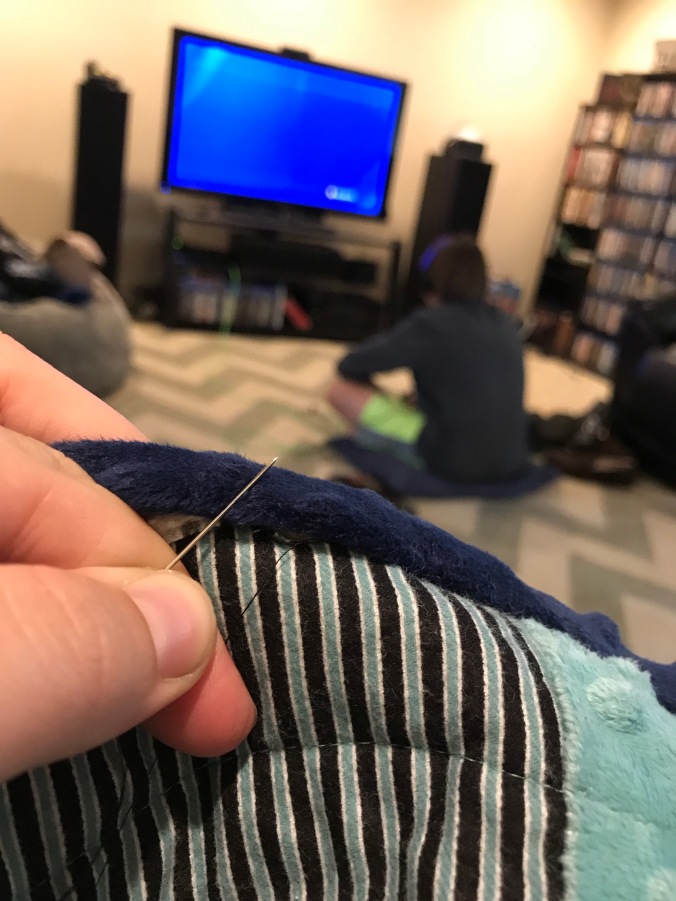
With minky and fabric in hand, I put together this little baby quilt but ran into some technical problems. My machine was struggling with the minky this time around, something it didn’t do with the first minky quilt. I ended up taking it in to be services and that slightly solved the problems.
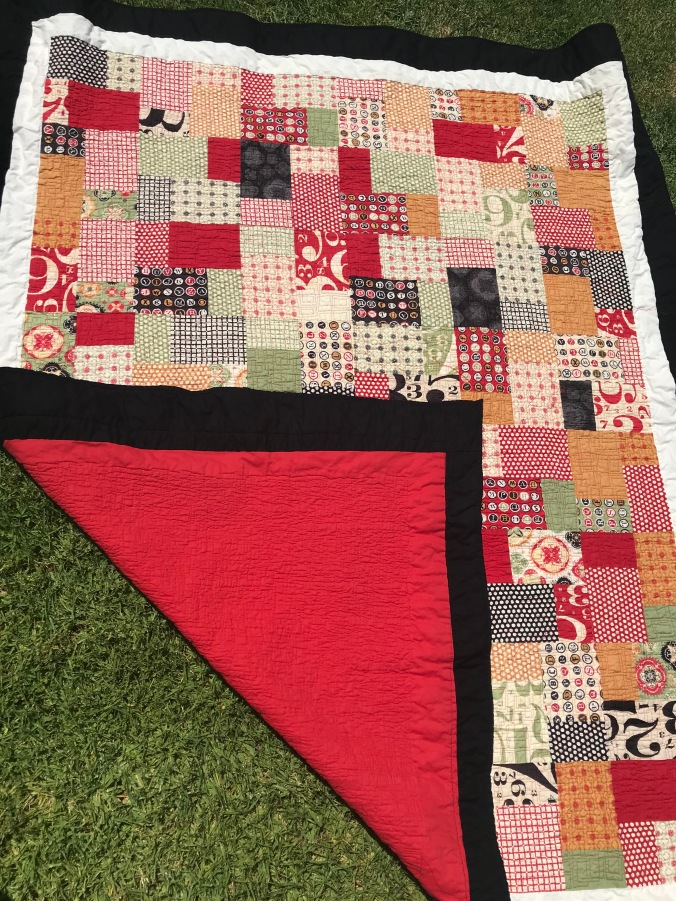
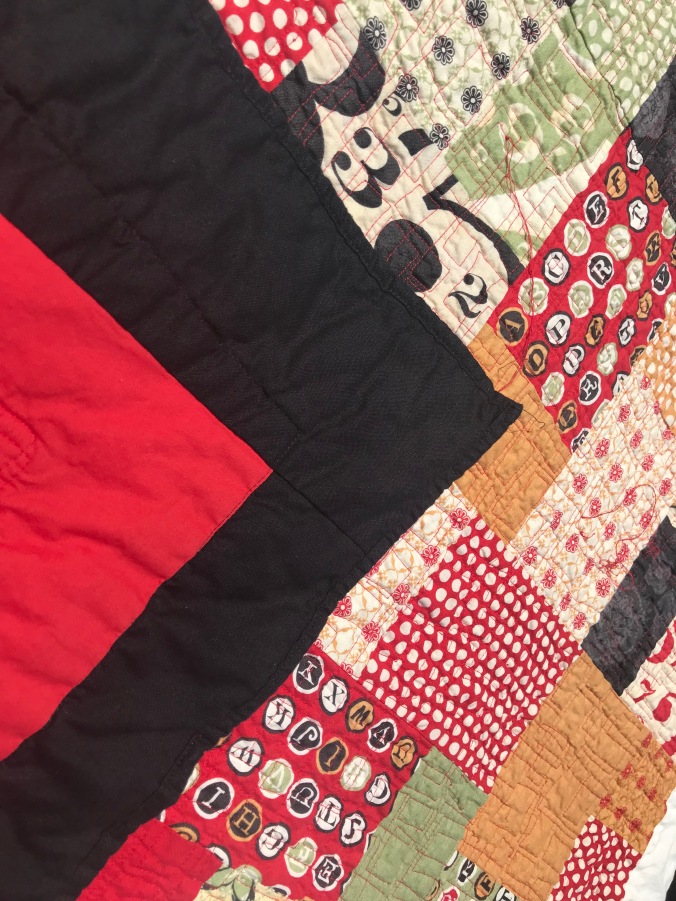
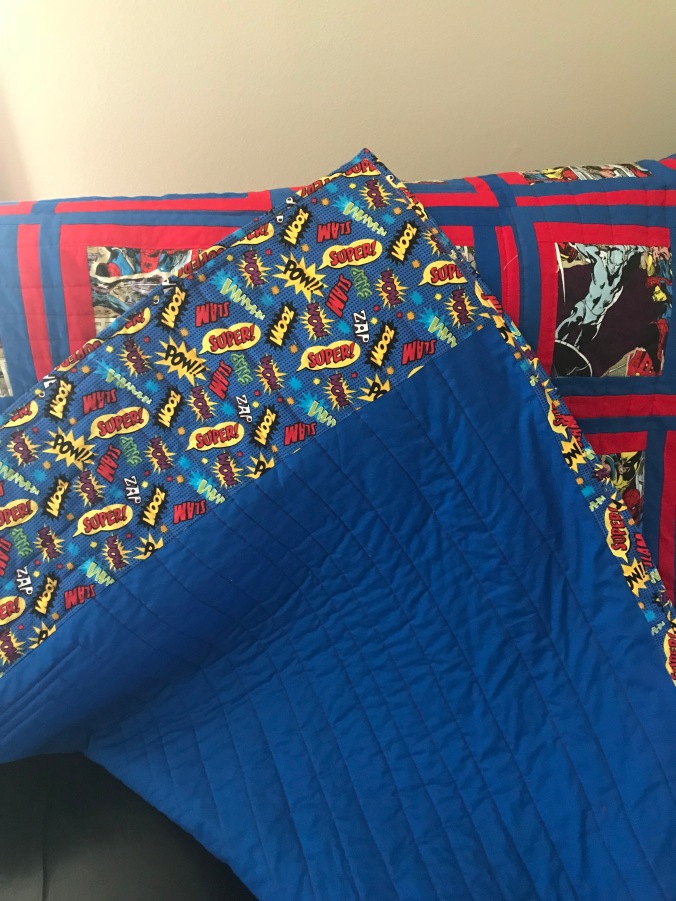
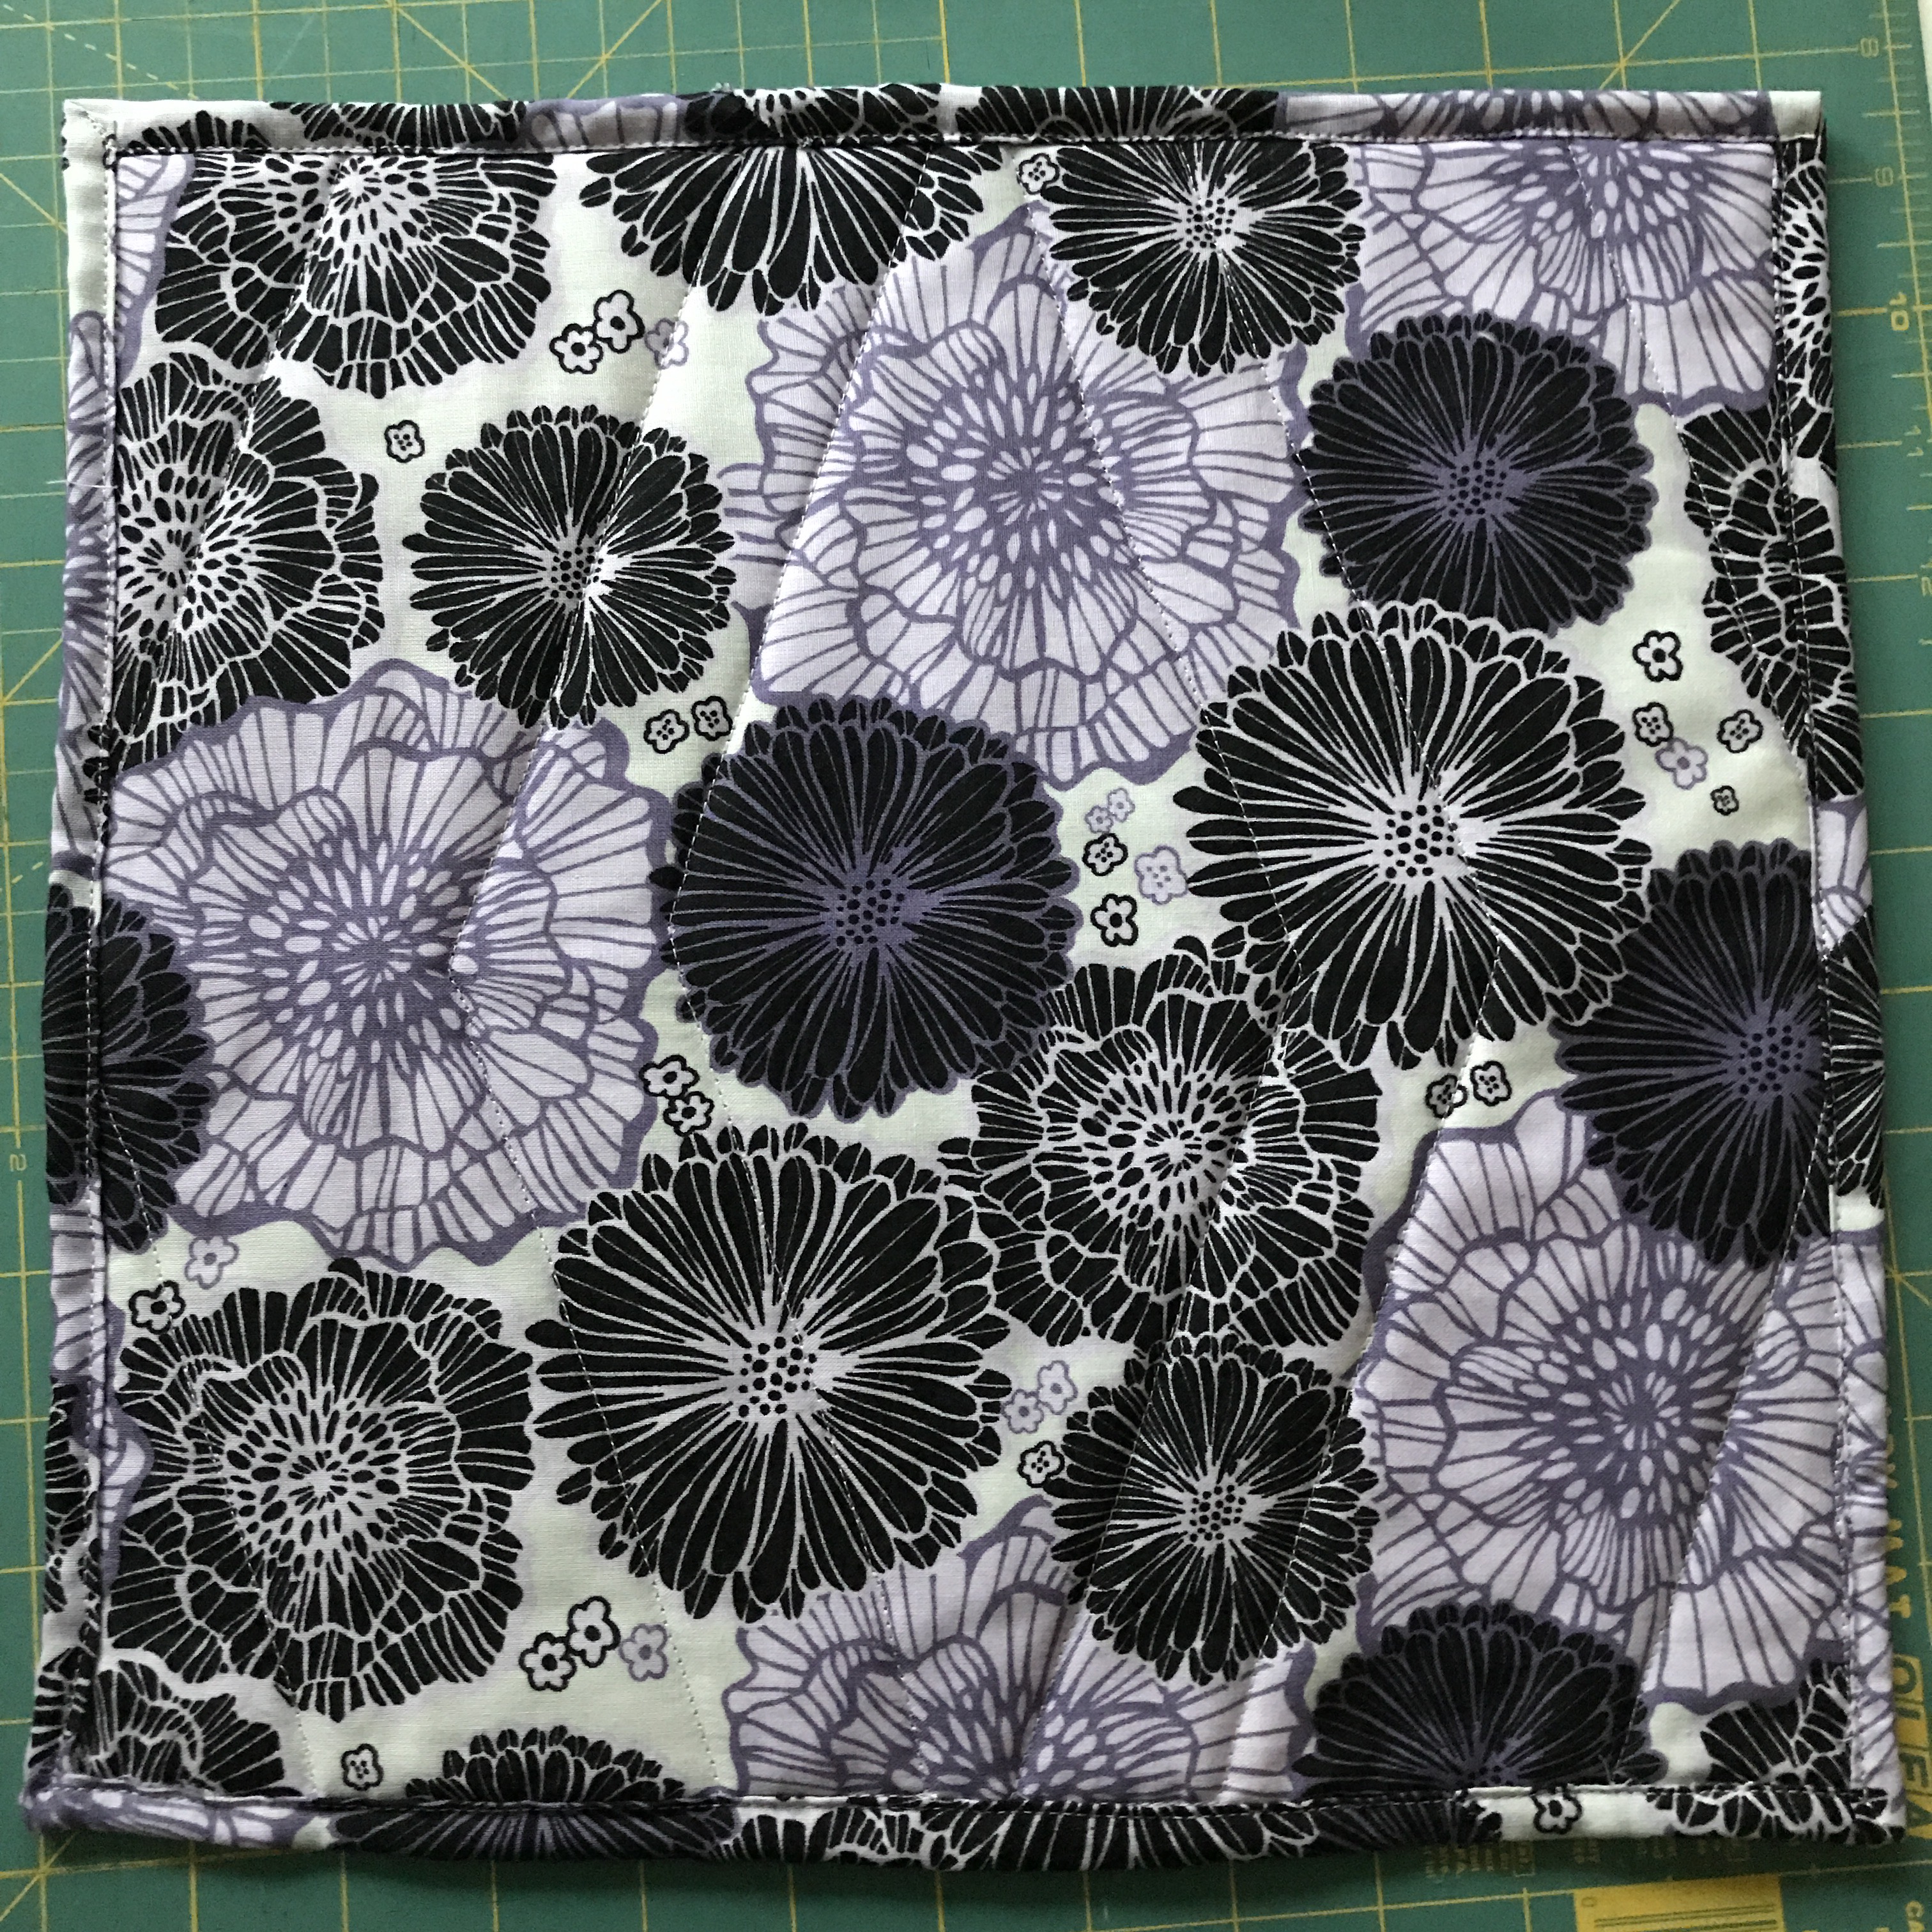
In the end, I got through it with a simple wavy line quilting pattern and I ended with some hand binding. I do like to attach the minky binding to the back and hand stitch to the front because it gives it a nice, cozy edge to the whole thing. And for a little guy I wants as much cozy as possible!
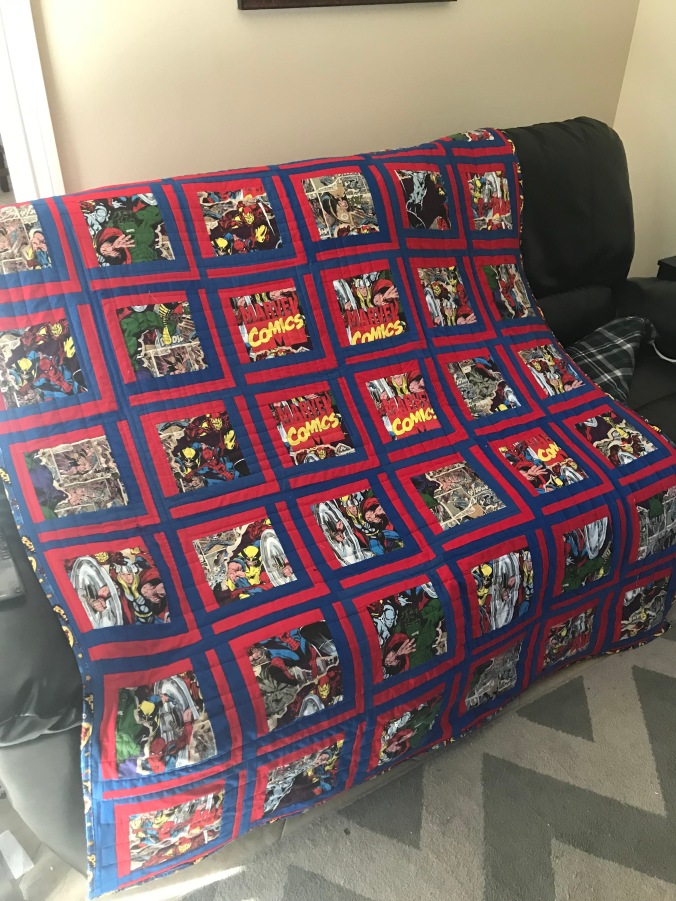
Well, it finally happened (6 months late…) The quilt is finished and Watson now has his own Aunty Keki quilt of his own.
Even though quilting on minky is kind of a pain in the tush, it looks great and just blends in nicely. And I love that minky binding. It may seem crazy to bind in such a thick fabric but it looks great when finished.
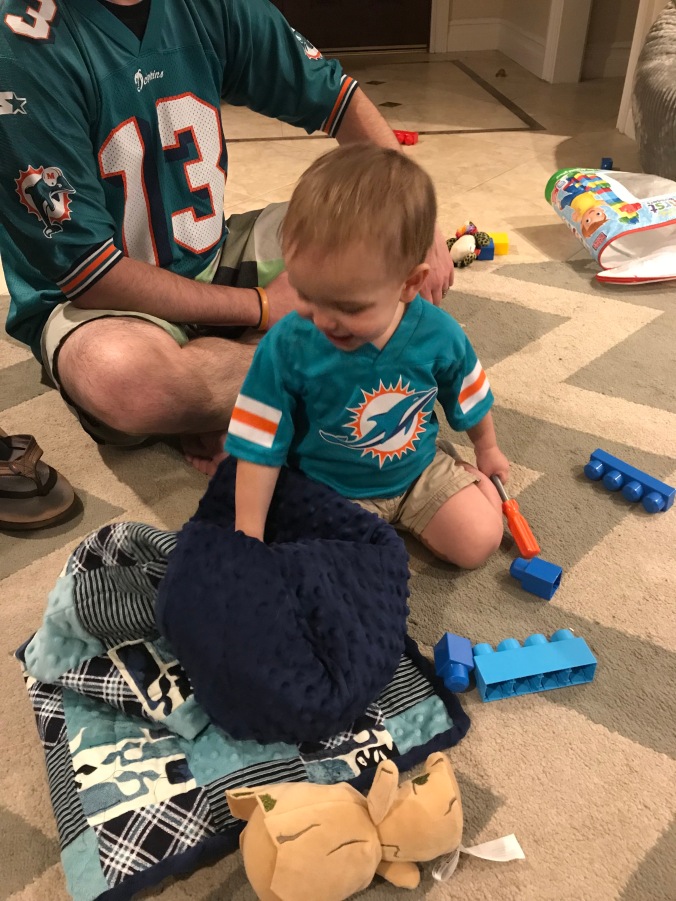
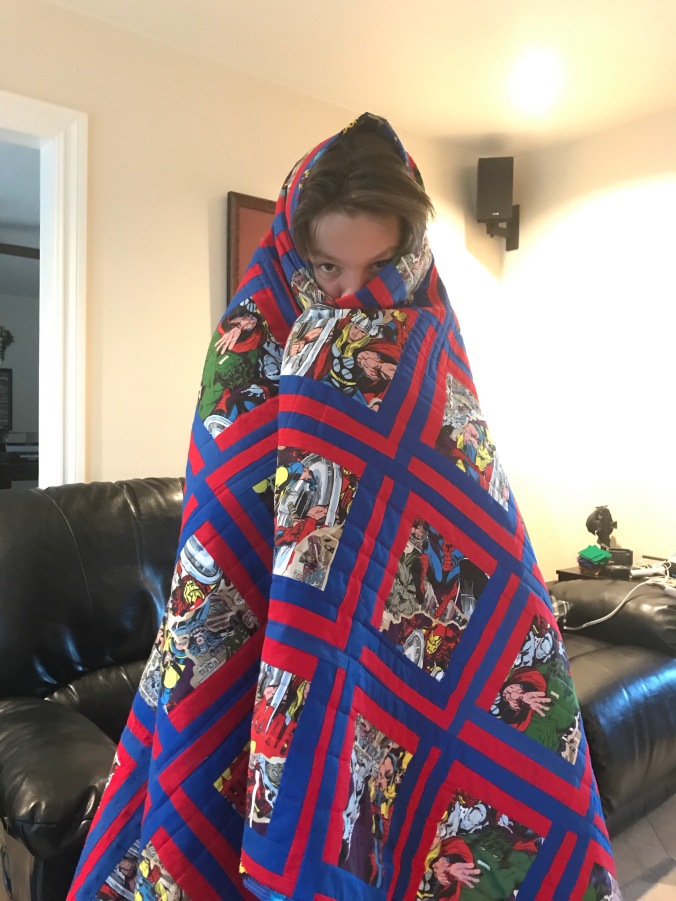
And the little man loved it too!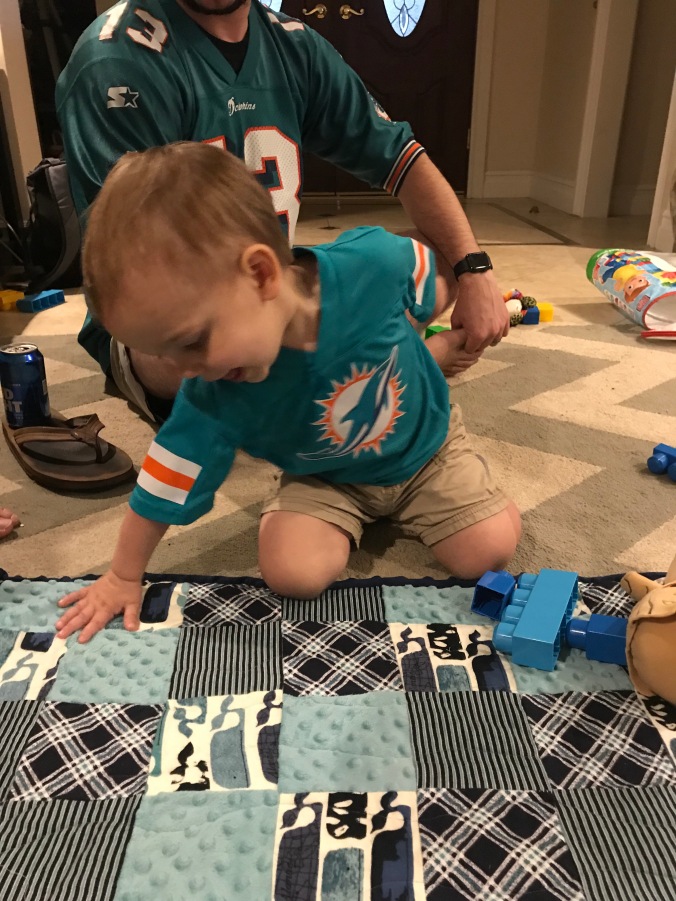
Like us on Facebook: Hobbies Up To Here
Subscribe to us on iTunes: Hobbies Up To Here
Check out our YouTube channel: Katie V. with Hobbies Up To Here
Check out our Zazzle shop for your Hobbies Up To Here merchandise!
And follow us on BlogLovin: Hobbies Up To Here
Pop by on Instagram: Hobbies Up To Here